Table of Contents
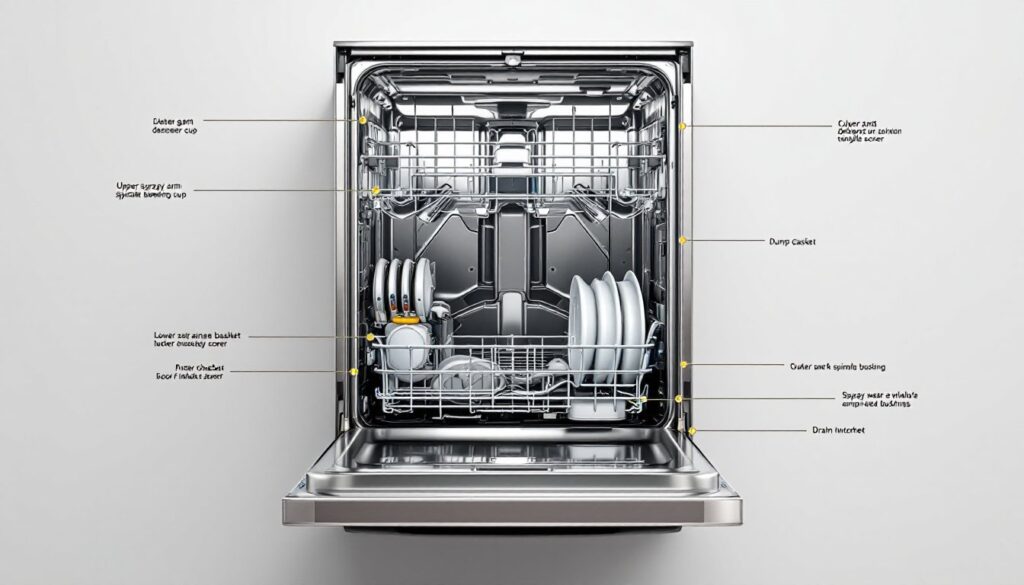
ToggleWhen something goes wrong with your KitchenAid dishwasher, knowing what you’re looking at makes all the difference. A detailed parts diagram isn’t just a map, it’s the key to diagnosing problems, ordering the right replacements, and tackling repairs yourself instead of paying a service call. Whether you’re dealing with a broken spray arm, a stuck door latch, or water that won’t drain properly, understanding the layout and function of major components helps you decide what needs fixing and whether it’s a DIY job or time to call a pro. This guide walks you through a complete KitchenAid dishwasher parts diagram, breaking down interior and exterior components so you can troubleshoot with confidence.
Key Takeaways
- A KitchenAid dishwasher parts diagram is essential for diagnosing problems, ordering correct replacements, and performing DIY repairs instead of paying for expensive service calls.
- The interior includes two main spray arms, a sump chamber with pump assembly, strainer baskets, and intake screens—most common clogs occur in these areas and can be cleared in minutes.
- Slow draining or standing water typically originates from clogged strainers or intake screens, while water leaks at the door usually indicate a degraded gasket that costs $30–$80 and takes 30 minutes to replace.
- Spray arms that don’t spin often have mineral deposits that dissolve with a hot water soak, or worn spindle bushings requiring arm or bushing replacement.
- Always consult your specific model’s diagram before ordering parts, as components vary between model years, and unplug the unit before accessing electrical components like solenoid valves or control boards.
- Door latch issues involving solenoid malfunction are typically best left to professionals, while most other repairs—gasket replacement, strainer cleaning, and spray arm maintenance—are DIY-friendly fixes that save time and money.
Understanding Your KitchenAid Dishwasher Layout
A KitchenAid dishwasher is divided into two main zones: the exterior (door, controls, and housing) and the interior (racks, spray arms, pump, and wash chamber). Knowing where everything sits helps you trace problems to their source. The dishwasher’s frame is essentially a stainless-steel or powder-coated box with insulation to reduce noise and heat loss. Inside, you’ll find two main wash racks, multiple spray arms, a sump (the lowest point where water collects), a pump assembly, and a drain system.
The power and water enter through the bottom rear of the unit, where supply hoses connect and the drain outlet exits. The control panel sits above the door or integrated into the door edge, depending on the model. Depending on your KitchenAid model year, whether it’s a top-control, pocket-handle, or integrated design, the exact layout varies, but the core parts remain consistent. Getting familiar with these zones before you pop open the door or dig underneath saves confusion when you’re staring at the real thing.
Interior Components and Spray Arms
The interior is where the washing action happens. The two main spray arms, upper and lower, rotate on spindles and distribute hot water and detergent across the dishes. The wash chamber itself is lined with a fine mesh strainer basket at the bottom, which catches food particles and prevents them from clogging the pump.
Upper Rack Assembly and Spray System
The upper rack slides in on rails and holds plates, bowls, and glassware. Above it runs the upper spray arm, a rotating tube with nozzles on the underside. This arm spins as pressurized water forces through it. The arm connects via a spindle bushing, a wear item that eventually fails, allowing smooth rotation. Above the upper rack sits the detergent dispenser cup, which holds powder or gel and opens via a solenoid-triggered door at the start of the wash cycle.
When the upper spray arm fails, it typically stops spinning (damaged spindle), leaks (cracked arm or broken nozzle), or drains unevenly. Replacing the spindle bushing or the entire arm assembly is usually a 20-minute job requiring only a wrench.
Lower Rack and Wash Circulation Parts
The lower rack holds pots, pans, and heavily soiled items and also slides on rails. Beneath it sits the lower spray arm, which rotates the same way as the upper. Below that is the sump chamber, the cavity where all water drains and collects before the pump pushes it back up. The sump contains the most critical parts: the pump motor, the impeller (a spinning fan-like part), and the intake screen.
The intake screen catches large debris, and the strainer basket traps finer particles. If your dishwasher won’t drain or drains very slowly, a clogged screen or strainer is usually the culprit, often fixable in minutes. The pump itself rarely fails unless the impeller is cracked (usually from a hard object jamming it) or the motor burns out. Most dishwasher problems trace back to clogs here, so keep this zone clean. Recent dishwasher maintenance guides emphasize the importance of regular filter cleaning as the first troubleshooting step.
Door and Control Panel Components
The door is more than just a barrier, it houses the latch assembly, water seal, and spray arm that cleans the door’s interior surface. The door latch is a solenoid-controlled mechanism that locks during the cycle and releases when the wash is complete. If the door won’t open or won’t stay closed, the latch or the strike (the catch point on the tub) needs inspection or replacement.
Around the door perimeter runs a door gasket or door seal, a rubber or silicone band that keeps water from leaking out. Over years, this gasket degrades, hardens, or cracks, causing leaks at the door edges. Replacing a gasket is straightforward and requires removing the door panel (usually six to eight screws) and unclipping or unsnapping the old seal.
The control panel contains the buttons, digital display, and touchpad (if applicable). Behind it sits the control board, a circuit board that commands every cycle. The water inlet solenoid valve sits behind or near the panel and controls water entry. The detergent dispenser motor triggers the door to open at the right wash phase. Electrical components are not typically a DIY repair: if the panel stops responding or the solenoid won’t energize, you’ll likely need a replacement board or valve from the manufacturer. Always unplug the unit before accessing anything electrical, and remember that capacitors can hold a charge even when unplugged. Safety glasses and work gloves are non-negotiable here.
How to Use the Parts Diagram for Common Repairs
Once you understand the layout, here’s how to tackle the most common KitchenAid dishwasher issues:
Slow Drain or Standing Water: Start with the strainer and intake screen. Remove the bottom rack and unscrew or unclip the cylindrical strainer basket at the sump. Rinse it thoroughly. Then look for the flat intake screen and clean it. Most clogs are here. If water still pools, the pump impeller may be stuck. You can manually spin it (unplug first) to free debris, but if it’s cracked, the pump assembly needs replacement.
Water Spraying from the Door: Inspect the door gasket by running your finger around it. If it feels hard, cracked, or compressed, it’s time to replace it. Close the door and watch for visible gaps. A new gasket costs $30–$80 and takes 30 minutes to install. This is 100% DIY-friendly and requires no tools beyond a screwdriver.
Dishes Not Getting Clean: The spray arms likely aren’t spinning. Remove them (usually held by a cap or clip) and soak in hot water to dissolve mineral deposits from hard water. If they spin freely after cleaning, great. If not, the spindle bushing is worn, and you’ll need to replace the arm or just the bushing. Cross-reference the part number from your model’s diagram with KitchenAid parts catalogs to order the correct replacement.
Door Won’t Latch or Latch Won’t Release: First, ensure nothing is blocking the door (a dish or utensil jamming it). If it’s clear, check the strike on the tub, it may have shifted or become bent. If the solenoid hums but the latch doesn’t actuate, the solenoid itself has likely failed and needs replacement. Unlike gaskets, solenoid replacement involves more disassembly and may warrant professional service if you’re uncomfortable with electrical components.
Always consult your specific model’s parts diagram (usually available on KitchenAid’s website) before ordering or installing parts. Model numbers matter, a spray arm spindle for a 2021 model may differ slightly from a 2024 model. Grab step-by-step repair tutorials to see the exact disassembly sequence before you begin.
Conclusion
A KitchenAid dishwasher parts diagram is a practical tool, not just a reference poster. By familiarizing yourself with the interior zones, spray arms, door components, and sump area, you’re equipped to diagnose most problems and decide whether to repair or call a professional. Strainer clogs, worn gaskets, and stuck spray arms are all DIY-friendly fixes that save you money and downtime. When in doubt, refer back to the diagram, unplug the unit, and take your time. Most KitchenAid repairs are less intimidating than they seem once you know where everything lives.