Table of Contents
ToggleYour Kenmore Elite refrigerator’s water filter is one of those silent workhorses, keeping your drinking water and ice clean without much fuss, until suddenly it stops working as well as it should. A clogged or expired filter doesn’t just make water taste off: it can strain the appliance and leave sediment and chlorine in your system. The good news: replacing or maintaining your Kenmore Elite water filter is a straightforward DIY task that takes about 10 minutes and costs far less than a service call. This guide walks you through understanding your filter system, recognizing when it needs replacement, and executing the job yourself with confidence.
Key Takeaways
- A Kenmore Elite refrigerator water filter replacement is a quick 10-minute DIY task that costs far less than a service call and requires no special skills.
- Replace your Kenmore Elite water filter every 6 months under normal use, or every 3-4 months if you live in an area with high mineral content or sediment.
- Signs your filter needs replacement include slow water flow, ice that tastes stale or smells musty, cloudy ice cubes, or water that tastes heavily of chlorine.
- Before installing a new Kenmore Elite water filter, wet the inlet end under cold running water for 10 seconds to activate the carbon and prevent air from getting trapped.
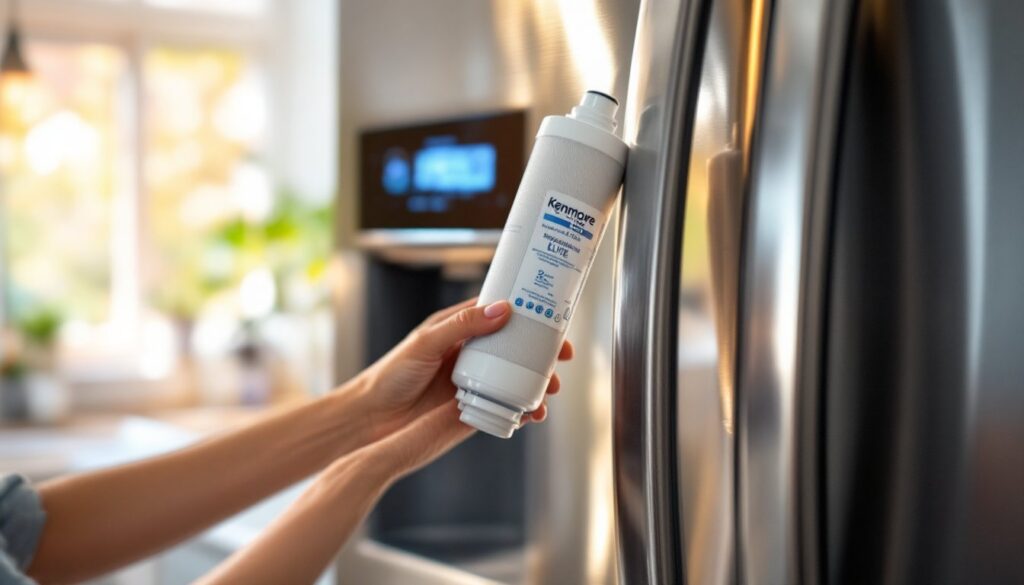
- Always verify your refrigerator’s exact model number and buy the correct filter model (such as 9008000, 469008, or 46-9008) from authorized retailers to avoid compatibility issues.
- Keep a spare water filter on hand and check your local water quality annually to adjust replacement frequency and maintain optimal filtration performance.
Understanding Your Kenmore Elite Water Filter System
Kenmore Elite refrigerators come equipped with built-in water filtration systems designed to reduce chlorine taste and odor, sediment, and some contaminants before water reaches your dispenser and ice maker. The filter cartridge sits inside the refrigerator (usually at the top, back corner, or in the grille at the base, depending on the model) and works by pushing water through activated carbon and a sediment layer. This process gradually fills up the filter with trapped particles until it can no longer flow efficiently.
Understanding how your specific system is configured matters because Kenmore Elite made several variations over the years. Some models use a bypass, meaning water can still flow to the dispenser even if the filter is absent, useful in emergencies but defeats the purpose of filtration.
Filter Types and Compatible Models
Kenmore Elite filters typically fall into two main categories: push-in cartridge filters and twist-release filters. Push-in filters slide straight out and push straight back in. Twist-release filters require a quarter or half-turn to lock or unlock.
Common compatible filter models include the Kenmore 9008000, 469008, 469006, and 46-9008, though your exact model depends on your refrigerator’s build year and configuration. Always locate your fridge’s model number (usually on the back or inside the door frame) and cross-reference it with the filter packaging or your user manual. Buying the wrong filter wastes money and leaves you with a unit that won’t fit. Many retailers list compatibility right on the product page, and the kitchen appliance experts at The Kitchn often review kitchen appliances with an eye toward maintenance ease.
Signs It’s Time to Replace Your Water Filter
Kenmore Elite refrigerators typically have a water filter indicator light on the display panel, when it turns red or amber, that’s your cue. But, not all older models have an electronic reminder, so know the manual warning signs: slow water flow from the dispenser, ice that tastes stale or smells musty, cloudy ice cubes, or water that tastes heavily of chlorine instead of being neutral. If you notice any of these, the filter is likely saturated.
Manufacturers recommend replacing the filter every 6 months under normal household use, or every 12 months for light users in areas with naturally soft water. If you live somewhere with high mineral content or sediment (check your local water report), you may need replacement every 3 to 4 months. Don’t stretch the timeline to save money, a clogged filter works against your refrigerator’s compressor and can reduce ice production or water pressure significantly.
Step-by-Step Filter Replacement Process
Replacing a Kenmore Elite water filter takes about 10 minutes and requires no special skills. Start by turning off the ice maker and water dispenser (or just stop using them for a moment). Hold a cup under the dispenser and run water for a full minute to depressurize the system and relieve any trapped water inside the filter housing.
Locate your filter cartridge. On most models, it’s either in the top back corner inside the fridge, accessible by moving shelves aside, or tucked into the lower front grille. Consult your manual if you’re unsure.
For push-in filters: Grab the cartridge firmly and pull straight out toward you. Some resistance is normal, wiggle slightly if needed. For twist-release filters: Turn the cartridge counterclockwise (usually a quarter turn) until it releases, then pull gently.
Before inserting the new filter, remove any plastic wrapping and soak the inlet end (the end facing the water line) under cold running water for about 10 seconds to wet the carbon. This helps the filter activate and prevents air from getting trapped inside the housing. Align the new cartridge with the slot or receptacle and push straight in until you hear or feel a click. For twist-release types, insert, then turn clockwise until snug, do not over-tighten.
After installation, run water through the dispenser for another full minute to flush out carbon dust and air. The water may appear slightly black or cloudy at first: this is normal activated carbon settling and clears after a minute or two.
Tools and Supplies You’ll Need
Good news: you don’t need much.
- Replacement water filter (correct model for your refrigerator)
- A cup (to catch water during the flush steps)
- Your refrigerator’s manual (or a quick online search with the model number, to confirm filter location)
- Optional: a flashlight (if the filter compartment is poorly lit)
Maintenance Tips to Extend Filter Life
Beyond replacing your filter on schedule, a few habits keep your system working smoothly. Check your local water quality annually: if mineral content or sediment spikes, adjust your replacement frequency up. Many municipalities publish water quality reports online, knowing whether you’re dealing with hard water, high chlorine, or sediment helps you predict filter wear.
If you notice the filter light activating much faster than expected, a sediment pre-filter on your home’s main water line can catch larger particles before they reach the refrigerator, extending the fridge filter’s life. This is a separate system plumbers install, but it’s worth discussing if you have persistently poor water quality.
Always keep a spare filter on hand so you’re not tempted to stretch the old one’s life. Expired or clogged filters don’t suddenly fail catastrophically, they just stop filtering effectively, leaving contaminants in your water. Unlike air filters, a water filter that’s “not quite red yet” is still degrading performance. The experts who test refrigerator water filters emphasize that staying on schedule prevents the slow decline in water quality that many homeowners don’t notice until it’s too late.
Troubleshooting Common Water Filter Issues
Filter is leaking or water is dripping from the housing. This usually means the cartridge isn’t seated fully. Remove it, inspect the inlet and outlet ports for debris or cracks, and push the new filter straight in with firm, even pressure. If the housing itself is cracked, the entire assembly needs replacement, a more involved job that may warrant a technician.
Water flow from the dispenser is weak or stopped. First, ensure the filter isn’t clogged by checking the age of the current cartridge. If it’s due, replace it immediately. If the new filter still doesn’t improve flow, the supply line may be kinked or frozen (in cold climates), or the ice maker shutoff valve might be closed. Check your manual for the valve location.
Water tastes bad or the filter reminder light came back on too quickly. Counterfeit or incorrect filters can fail prematurely. Verify the model number matches your refrigerator exactly. Buy from authorized retailers or the manufacturer when possible. Some aftermarket filters are cheaper but don’t last as long or filter as effectively.
The filter is physically stuck and won’t budge. Don’t force it, you’ll crack the housing. If it’s a push-in type, try gently rocking it side to side as you pull. For twist-release, turn very slowly in the counterclockwise direction to avoid stripping the threads. If it’s truly seized, applying a bit of warm (not hot) water around the base may help release it.
When troubleshooting, also reset the filter indicator light once you’ve installed a fresh cartridge. Check your fridge’s manual for the specific sequence (usually holding a button for 3-5 seconds), as it varies by model.