Table of Contents
ToggleInstalling a range hood isn’t just about aesthetics, it’s essential for removing cooking odors, steam, and airborne grease from your kitchen. Whether you’re replacing an old unit or adding ventilation to an underserved cooktop, a properly installed range hood improves air quality and prevents moisture damage to cabinets and walls. The good news? Most homeowners can tackle this project themselves with basic tools and careful planning. This guide walks you through each step, from choosing the right hood type to connecting your ductwork, so you can breathe easier, literally, in your kitchen.
Key Takeaways
- Install a range hood to remove cooking odors, steam, and grease while protecting cabinets and walls from moisture damage.
- A proper range hood installation requires essential tools like a stud finder, drill-driver, level, and materials including ductwork, mastic sealant, and a damper to prevent backflow.
- Match your range hood’s CFM rating to your cooktop size—a 30-inch range typically needs 250–300 CFM—and always choose a ducted hood over a recirculating unit for superior odor and steam removal.
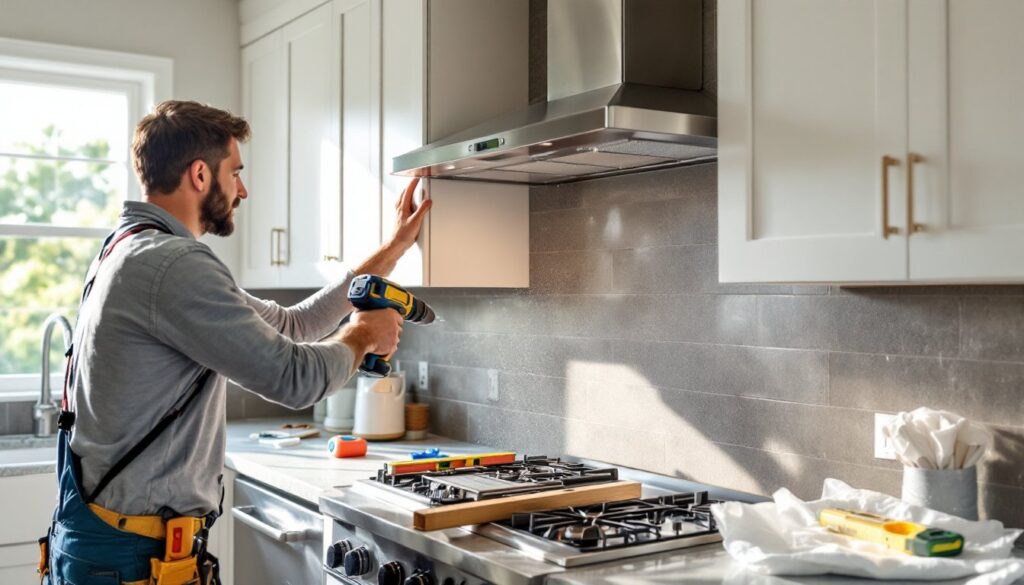
- Secure mounting brackets to wall studs at the correct height (20–24 inches above the cooking surface for under-cabinet hoods) and use mastic sealant at all ductwork connections to prevent air and moisture leaks.
- Test your installed hood at all fan speeds, check for airflow at the exterior damper, and maintain it monthly by cleaning grease filters and wiping the hood exterior to ensure peak performance.
Tools and Materials You’ll Need
Before you begin, gather the essential tools and materials. You’ll need a stud finder, drill-driver, jigsaw (for cutting ductwork holes), tape measure, level, and screwdrivers (Phillips and flathead). A caulking gun and mastic sealant are critical for sealing ductwork connections, caulk alone won’t cut it: mastic prevents both air and moisture leaks.
On the materials side, have your range hood unit, mounting brackets (usually included), ductwork (4-inch or 5-inch diameter rigid or semi-rigid duct), duct fittings, damper (a one-way flapper preventing backflow), and exterior vent cap. If your hood exhausts through an exterior wall, you may need a wall thimble (a metal collar that seals the duct penetration). Grab some 6-mil plastic sheeting and painter’s tape to protect countertops and appliances from dust and debris.
For safety, wear ANSI-rated safety glasses, work gloves, and a dust mask when cutting drywall or working in dusty attic spaces. If your hood pulls from the attic, a headlamp makes the job much easier.
Choose Your Range Hood Type
Range hoods come in three main styles, each with different venting requirements. Under-cabinet hoods sit below cabinetry and are the most common for retrofit installations: they require ductwork running horizontally or vertically through cabinets and walls. Wall-mounted hoods are anchored directly to the wall above a cooktop: they work well if you’re installing new or have an open wall layout. Island hoods hang from the ceiling above an island cooktop and require ductwork routed up through the ceiling or walls, more complex, but visually striking.
Beyond style, confirm your hood’s CFM (cubic feet per minute) rating. A typical kitchen needs 100 CFM per linear foot of cooktop: a 30-inch range usually requires 250–300 CFM. Under-sized fans won’t vent effectively: oversized units waste energy and create unnecessary noise. Your hood manual lists the CFM and required duct diameter (usually 4 or 5 inches). Finally, decide if you want a ducted hood (vents outside) or recirculating hood (filters air and returns it indoors). Ducted hoods are far superior for odor and steam removal: recirculating units are a last resort if exterior venting isn’t possible.
Prepare Your Kitchen for Installation
Shut off power to the old range hood at the breaker if you’re replacing one. Disconnect any electrical wiring, hood wiring typically uses a standard 120V outlet or hardwired connection. If the old hood is ducted, disconnect and remove the ductwork carefully: you may reuse rigid ducts if they’re undamaged, but semi-rigid ducts often collapse or kink and should be replaced.
Next, inspect the space where your new hood will sit. Use a stud finder to locate wall studs or cabinet framing: you’ll anchor the mounting bracket here. If you’re venting through an exterior wall or ceiling, identify the path for ductwork, avoid running ducts through insulated cavities if possible, as condensation can collect there. If you must, install a duct wrap (foam insulation) around the duct to minimize condensation. Mark the duct opening location on the exterior wall or roof with a pencil, then drill a pilot hole from inside to mark the spot outside. This prevents mistakes during cutting.
Install the Mounting Bracket and Hood
Position the mounting bracket at the correct height. For an under-cabinet hood, it usually sits 20–24 inches above the cooking surface (check your hood’s manual for the exact spec). Mark the stud locations with a pencil, then drill pilot holes to prevent the drywall from cracking. Use ¼-inch lag bolts or the fasteners included with your hood: don’t skimp on hardware, a falling range hood is a serious hazard.
Secure the bracket with a level positioned on top to ensure it’s plumb and level. An off-kilter hood looks sloppy and can cause ductwork to sag or disconnect. Once the bracket is tight, carefully lift the hood unit onto the bracket and secure it with the provided bolts. Most hoods have a slight tilt angle (about 15 degrees) to aim airflow toward the back wall: don’t over-tighten the back bolts, or you’ll distort the hood body.
If your hood requires electrical connection, you’ll either plug it into a nearby GFCI outlet (preferred for safety) or hardwire it directly to a 120V circuit. Hardwiring is neater but requires running new wire or tapping into an existing circuit, a job for a licensed electrician if you’re not confident. The National Electrical Code (NEC) requires a dedicated circuit for major appliances in many jurisdictions: check local codes.
Connect Ductwork and Ventilation
Measure the distance from the hood’s duct collar to your exterior vent opening. Cut your rigid or semi-rigid ductwork to length using a jigsaw or metal-cutting blade on a circular saw, make clean, straight cuts to avoid air leaks. If using semi-rigid ducts, avoid compressing them too tightly: bent sections reduce airflow efficiency.
Slide the first duct section onto the hood’s collar and secure it with two hose clamps (not just one). Apply a bead of mastic sealant around the connection before clamping: this seals micro-gaps that caulk alone can’t fill. Connect subsequent duct sections with fittings and repeat the mastic-and-clamp process at each joint. Avoid flexible dryer-vent-style ducts if possible, they trap lint and grease, reducing efficiency and creating fire risk.
When you reach the exterior wall, cut the opening with a jigsaw (following the pencil marks you made earlier). Insert a wall thimble or duct collar through the opening, then secure your ductwork to it with mastic and clamps. On the exterior, attach your damper or one-way vent cap, this flapper prevents cold air, rain, and pests from entering when the hood isn’t running. Seal around the exterior vent cap with exterior-grade caulk to prevent water intrusion. No exterior venting option? Install a recirculating filter kit on the hood, not ideal, but it’s better than nothing for odor reduction.
Test Your Range Hood and Finishing Touches
Turn the power back on at the breaker and test the hood at all fan speeds. Listen for unusual rattling or vibration, this often signals a loose connection or ductwork sag. Smell the air near the damper outside: you should feel strong airflow exiting. If airflow seems weak, check for kinks in ductwork, a clogged filter, or damper malfunction.
Usage tips: Run the hood while cooking and for 10–15 minutes after to clear lingering steam and odors. Clean or replace the grease filter monthly: clogged filters reduce airflow and can be a fire hazard. Wipe the hood’s exterior monthly to prevent grease buildup.
For finishing touches, apply paintable caulk along the seam between the hood and cabinet (or wall) to hide gaps and prevent dust from settling there. If your ductwork passes through visible areas like an attic, wrap it with foil duct tape for a neater appearance and to minimize heat loss. Consult resources like popular home improvement guides or established DIY tutorials if you encounter unexpected challenges during installation. Finally, test the hood’s damper by opening your oven door wide: you should feel slight backdraft (cold air pulled toward your stove), confirming the damper opens fully when the fan runs and closes when it’s off.
Conclusion
Installing a range hood is a manageable DIY project that pays dividends in kitchen air quality and home comfort. Taking time to measure accurately, seal ductwork properly, and anchor the hood securely prevents headaches down the road. If you hit a snag with electrical work or load-bearing considerations, don’t hesitate to call in a pro, it’s better than a safety issue or a failed inspection. Your kitchen deserves good ventilation, and now you’ve got the know-how to make it happen.